| |
||
Overview
The ProblemThe reason behind replacing a brake pad carrier can be several. But in this case it was due to a broken brake caliper guide bolt where a small part of the bolt remained in the brake pad carrier (on which the brake caliper is mounted on). A quick and easy solution is to simply replace the entire brake pad carrier. Tools, Skills And PartsThe job is pretty straightforward and does not include any special tools. Difficulty Level
The following tools are required for this particular work (tools marked with green checkmark are optional).
The following spare parts are required for this particular work. Note that the BMW internal numbers are intended for a BMW 535i E34 -89.
PreparationsThe brake pad carrier is mounted with two large 19 mm hex head screws directly on the front strut assembly. The brake caliper is then mounted onto this brake pad carrier using two 7 mm Allen key guiding bolts. To ease the work of loosening the two 19 mm hex head screws it is recommended to soak down the area around these two screws with CRC 5-56 or similar and let it stay and penetrate over the night. See the picture below for the location of the two screws. 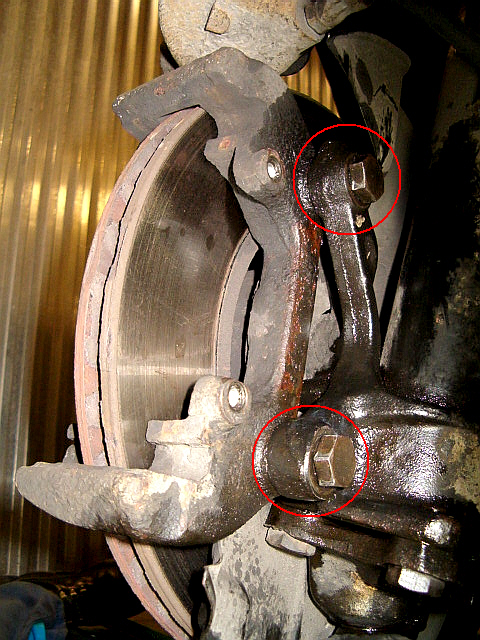 The front right strut assembly, brake pad carrier and the brake disc. Note that the brake caliper has been dismounted and moved out of the way. The 19 mm hex head srews holding the brake pad carrier are marked in the picture. Removing Brake Pad CarrierStart by jacking up the car, remove the wheel and the brake caliper. This is described in detail in the brake pad replacement job. It is now time to try to loose the two screws holding the brake pad carrier. It may require quite a lot of force to loosen these screws but with the right tools it shouldn't be any problem. It is strongly recommended to only and only use 6-point sockets (or wrenches). Using 12-points sockets (or wrenches) will only transform the hex shape into round shape, especially when the bolts and screws are sitting tight as it can be in this case. After the screws have been loosened, remove them completely together with the old brake pad carrier. The view at the front strut assembly should now look like the picture below. 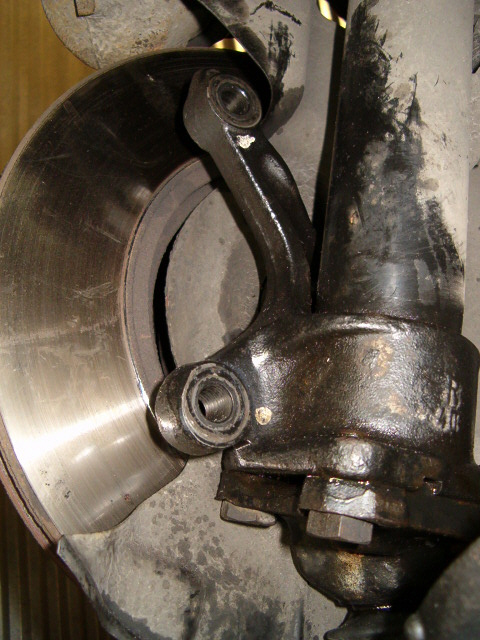 The front right strut assembly with the brake caliper and brake pad carrier removed. |
Mounting Brake Pad CarrierIt is now time to unpack your absolutely fresh brake pad carrier. Below is a series of pictures illustrating how this piece looks like when it is completely new. 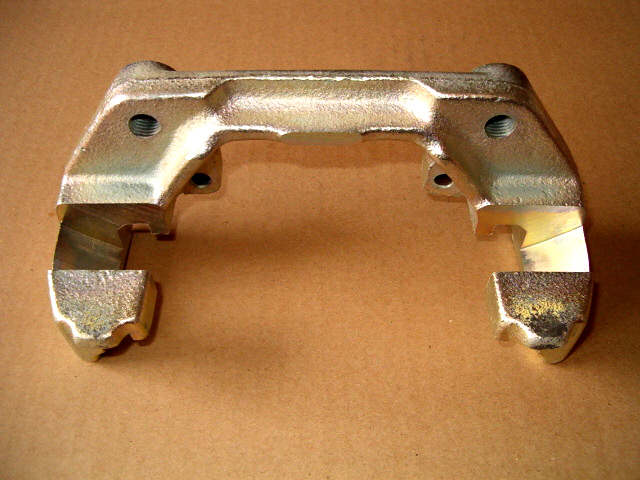 An absolutely fresh brake pad carrier.  An absolutely fresh brake pad carrier. 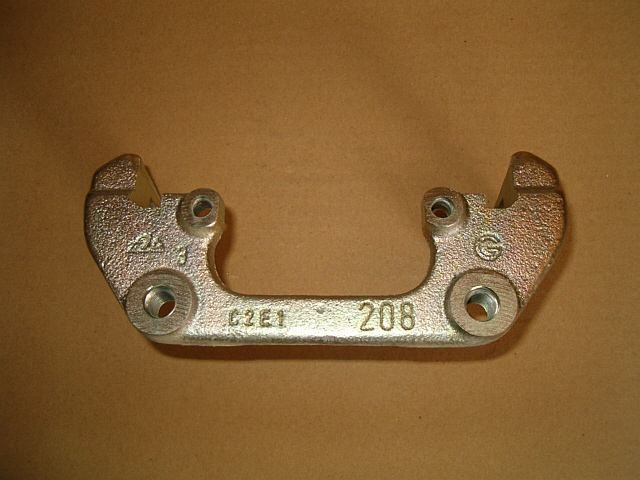 An absolutely fresh brake pad carrier. Start by cleaning the two large 19 mm hex head screws using brass brush and cotton waste for example. Add a thin thin coat of copper paste on the threads. Mount the new brake pad carrier with the two cleaned screws and use a torque wrench as the last step. See the picture below for an example and the table at the end of this article for torques. 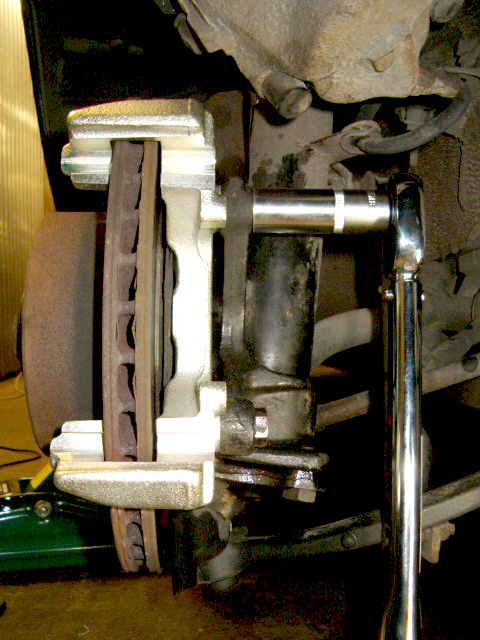 The upper 19 mm hex head screw holding the brake pad carrier tightened with a torque wrench. The job is almost finished now. Optionally clean the brake disc with CRC Bräkleen or similar to remove oil, grease and deposits. The remainder of the installation is the reverse of removal. 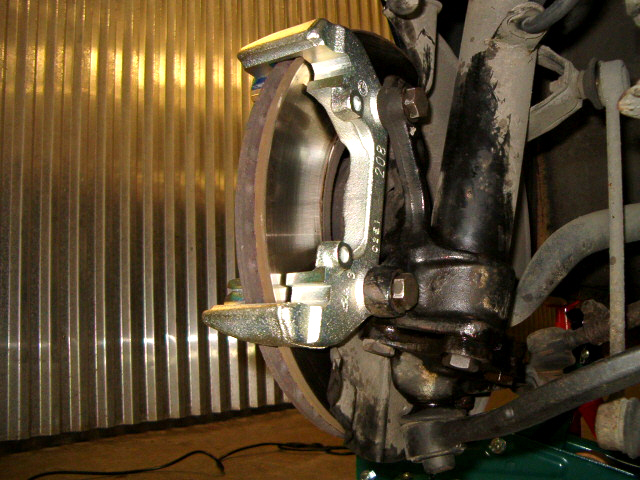 The new brake pad carrier mounted looking shiny and new! Tightening Torques
|